
We are all getting ready for the Google holiday party Saturday. The hope is that we be able to take the two new Tubas that we are building using my new Fusion 360 design.
Jules Kobelin and David Alumbaugh getting our existing gear ready.


CNC at the Laney College Fab Lab.


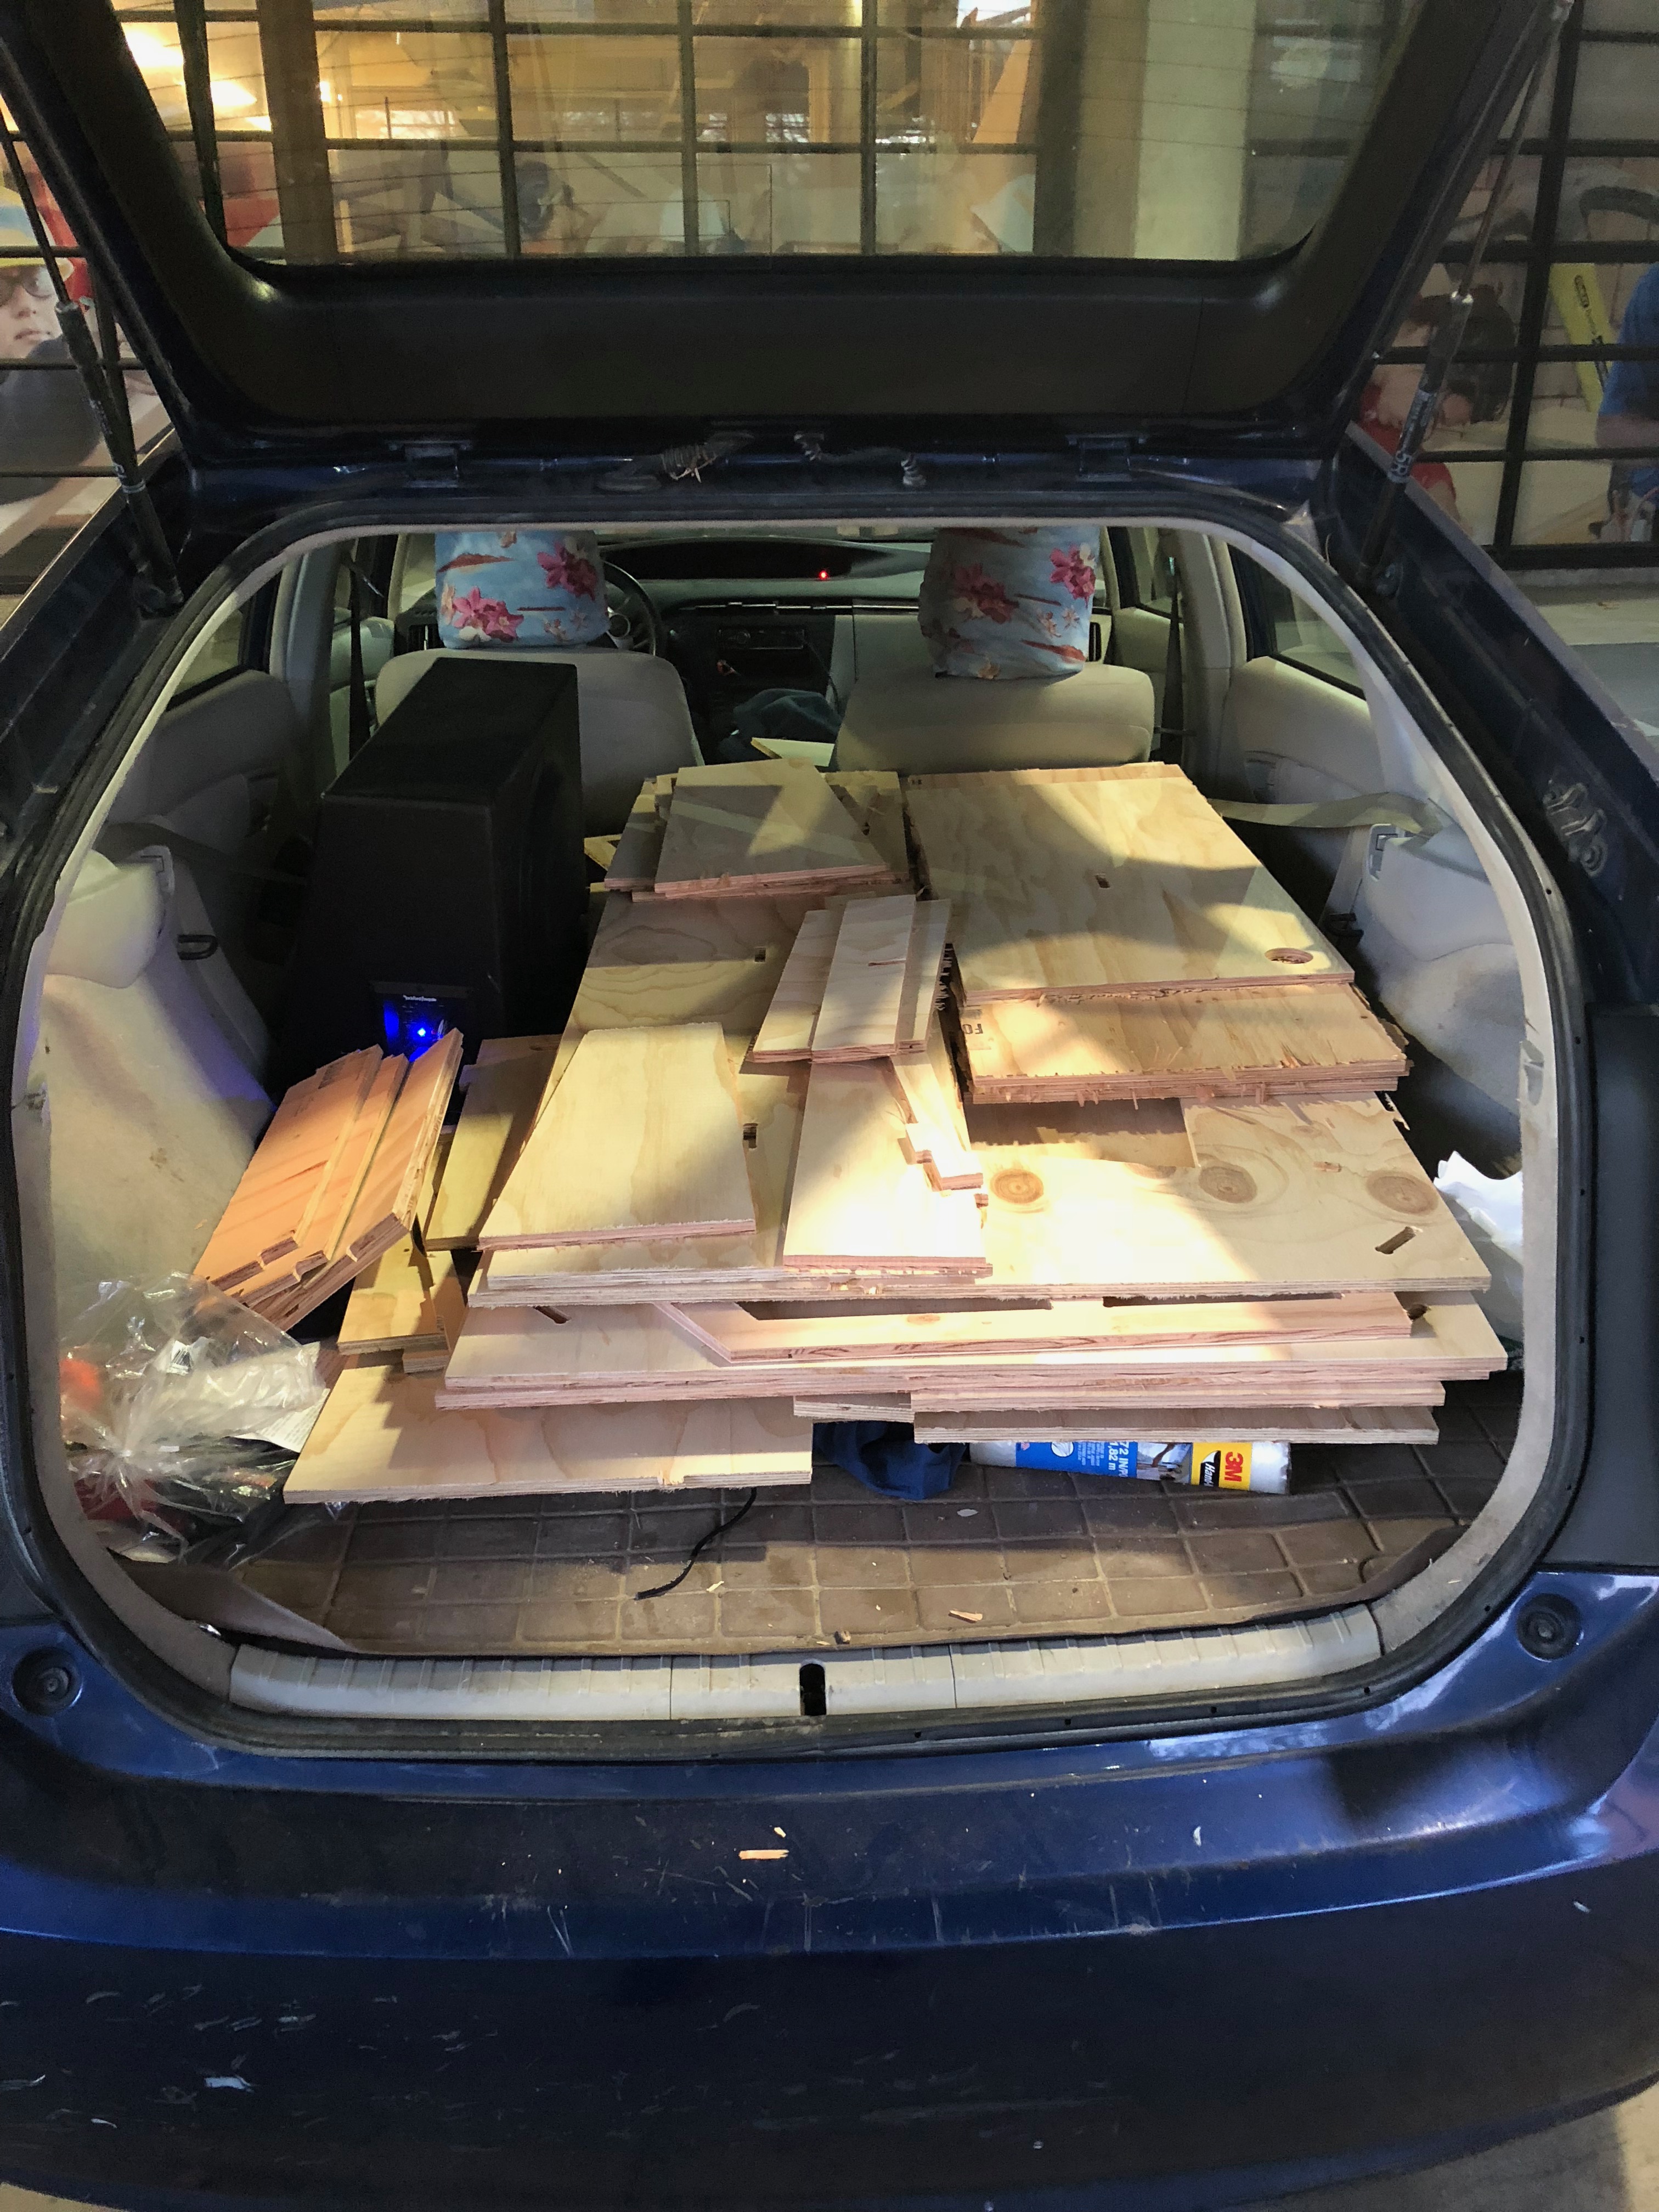
Two cut Tubas in the back of the Prius – complete with both drivers and all hardware. Schweet!
My Build Music
NU remains one of my favorite artists to build to as his sets incorporate music from around the world. He is truly a master of his craft.
Build in Two Sessions
The instructions below are for the First Session. I hope to complete the Second Session tomorrow.
Note: The order you assemble everything is important.
Note: I am bolding each part the first time it is used.
Initial Set-Up
Sand all edges so they don’t cut you while you assemble the cabinet.
Put everything together once first.
Mark the sound channel with a small but visible ‘X’ on the face of all pieces (including braces) so that you know orientation and where you will be applying glue. Don’t assume you will remember how the pieces fit together.
If this is your first time building a Tuba, I suggest you number each piece to make it easier to follow the assembly instructions.


First Session (assemble in this order)
Install T-Nuts to the sound channel side of Part 3.
Attach the baffle to Part 3 with glue in corners.
Install all 8 screws to tighten the baffle against Part 3 and let it set for at least an hour.
Take out all but one screw close to the driver door. You are leaving that one screw tightly in place to ensure the baffle does not move. The fact that it is the screw close to the driver door means it will be easy to take out later when you install the driver.


Brace_3_6
to
Part 6
Part 6
to
Bottom


Part 3
to
Bottom and Brace_3_6
Part 4
to
Bottom and Part 3
Brace_2_8
to
Part 2
Part 8
to
Bottom and Brace_2_8
Attach [BUT DO NOT GLUE!!!] Top. This will keep everything aligned and allow you to clamp down from Top to Bottom along Part 8.
Place heavy weights on Top above all parts.
Install [BUT DO NOT GLUE!!!] driver_door_brace. This will keep Parts 2 & 3 aligned.
Clamp horizontally Parts 3 & 6 at the brace.


VITAL!!!
Inspect all glue contacts and make sure there are no gaps or areas where there is no glue. Apply too much glue. You will blow your driver if you allow air to cross from one compartment to another. You can not allow any airflow except within the sound channel. Well-cut parts are important but the glue is the key to this whole thing working.
You are building in two sessions specifically so you can ensure there are no air gaps. Don’t mess this up. You can not fix some problem areas later on as they can’t be reached after this step.
Please. Spend the time to do this right. 10 minutes can mean the difference between a working Tuba and a broken one. Heed my warning.
And just to be super confusing… Please be careful not to get any glue on the Top as it will make it difficult to take off before the Second Build Session. [You know, because instructions are so easy to write and even easier to follow ;)]


The new Fusion 360 design uses tabs. Physics requires us to use “dog-bone fillets” when we make parts with a CNC router. This means that the connection points for these tabs will have extra material taken out and will not be air-tight. Just for giggles, I glop an extra helping of glue in the round holes to make sure it squishes out when assembling. I plan to post a better picture showing the glue in tomorrows session.

The photo below shows how the glue should squish out from under the joints. You can see it clearly on the left. On the right side, the glue is coming out of the other side of the wood (it is not in the picture).
The reason to build in two stages is so that you have access to one complete side of all joints. It is imperative that the accessible side contains no air holes. [Can you tell that this is important?]

The best technique I have found for spreading the glue is with my finger. Fitzmaurice advises against this, but after building 6 Tubas with no leaks and driving them hard for years, I find my methodology to be superior. Your Milage May Vary.


